
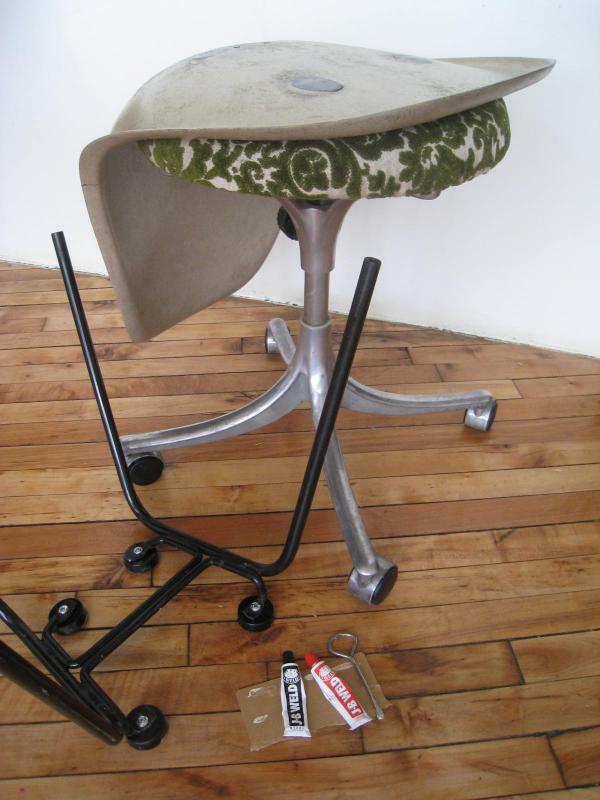
Materials gathered to epoxy mounts. That's my Kevi reupholstered stool under there.
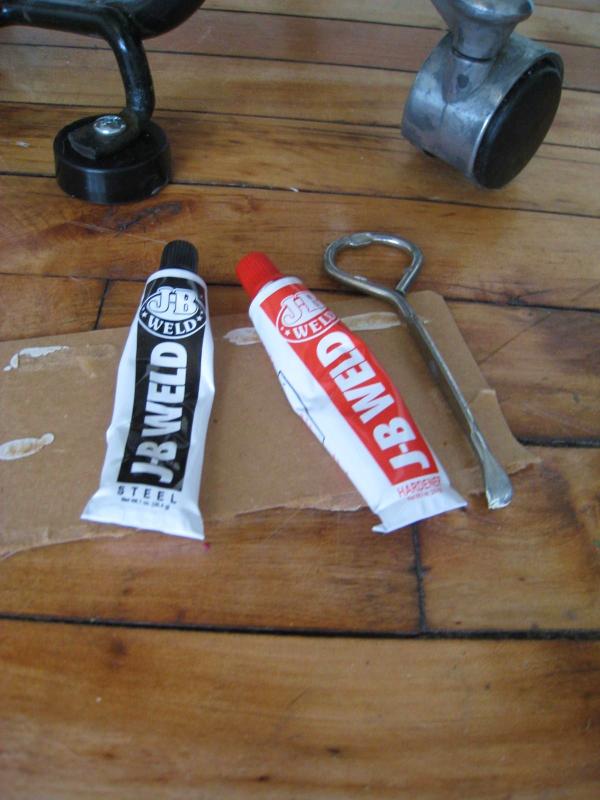
JB Weld epoxy: super strong, but slower to dry than I would have thought, and surprisingly forgiving in prying off my first attempt. Looking back at the original tutorials, I should have opted for the JB Weld Kwik that sets much faster.
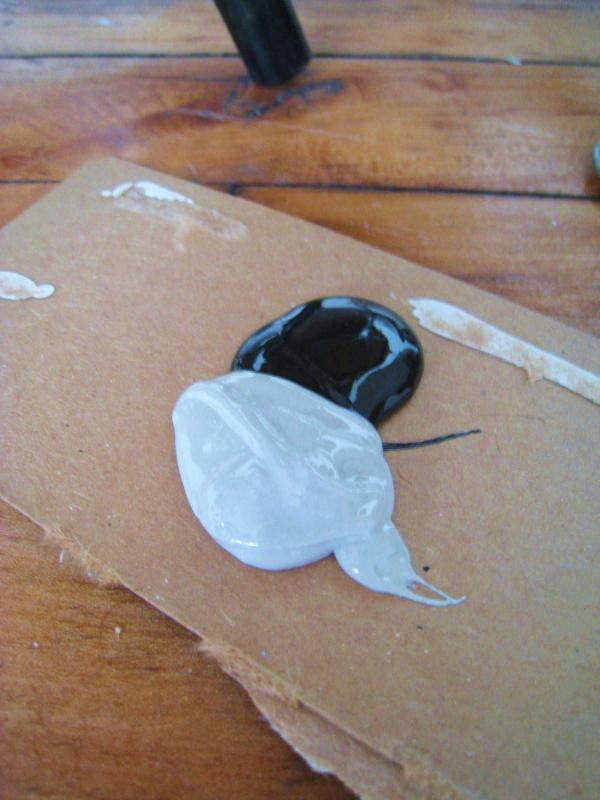
Grey and black modernist goodness.
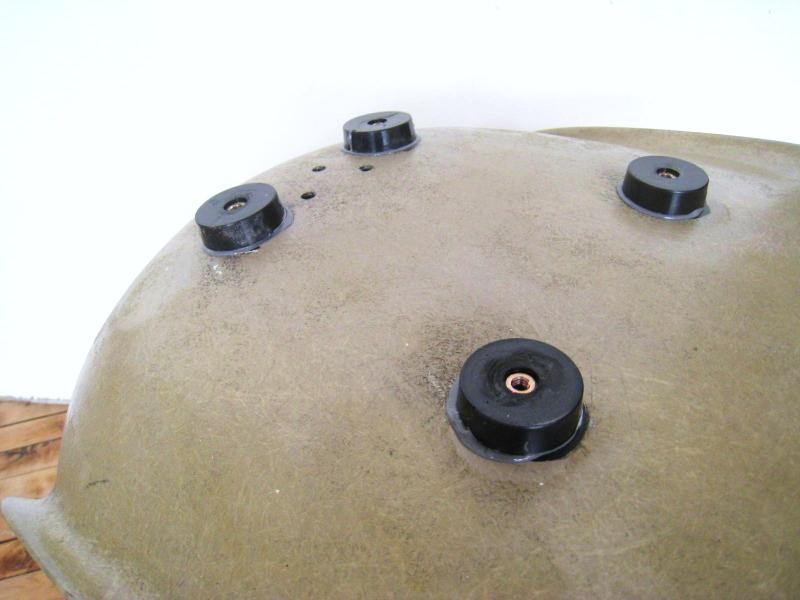
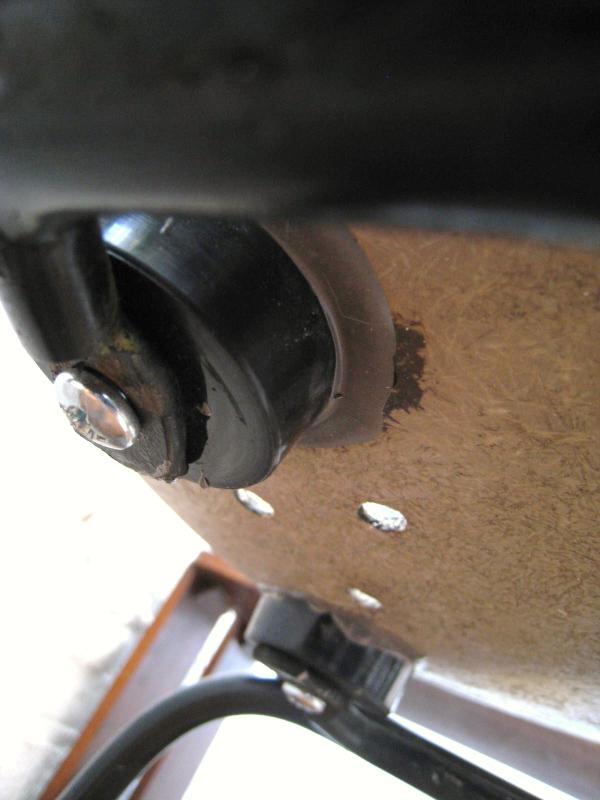
This would be the second try at attaching the shock mounts. The first time, I was too impatient and did them all at once. The back mounts on the seat curve slid as they dried, and didn't line up correctly with the chair base. Whoops. The new epoxy was easier to pry off than I would have thought. These pics are of the first impatient go round.

Drying mounts.

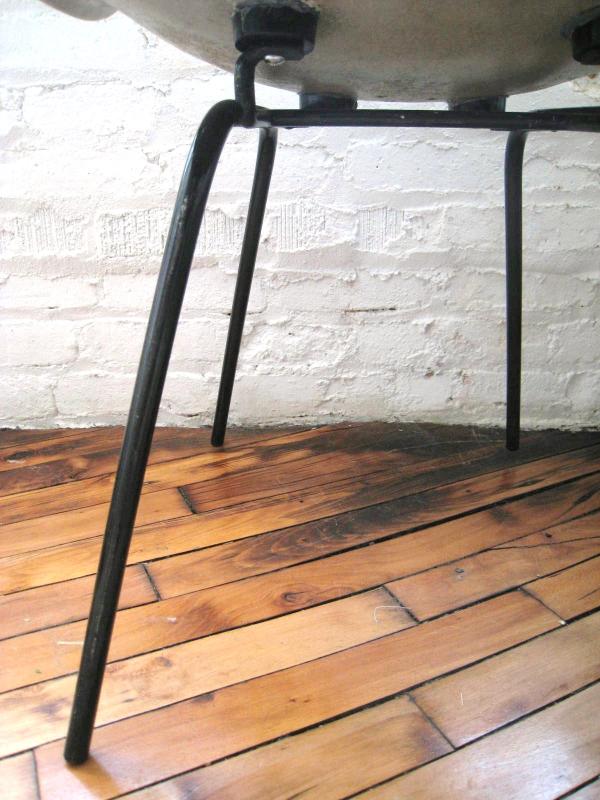
Post-adjustment, happily remounted chair hanging out.
Sticking together.
See here, here, and here for past HMSC rehab entries, including the method I used to remove some seven layers of paint from this poor chair. Also need to get a new drill to get the last of the old feet out of the legs to install the replacements (our cheapie has lots of miles and now only holds super huge bits).
Coming up next, an attempt at creating some sort of seat cushion to deal with those pesky holes...
See original Chair Fag and Brick House DIY tutorials for full break down on their process.
OK. I think I'm ready to try this. I have six of these babies and only one of them is mounted. One of the chairs is also without a pad, but I only have one....where to buy the pads? oh well.
ReplyDeleteIt's such a shame to keep them in storage any longer. I think I can hear them calling my name.
You've inspired me to give this a go. It's now 6:25 a.m. on the west coast. Now, where did I put my JB Weld......?
When I get around to it, my plan is to use this shape lock stuff to mold a plastic base and upholster my own. It's pretty ambitious, but we'll see... A strategically placed pillow covers the holes in mine pretty well for the time being.
ReplyDeleteHope your remounting project is going well!