Showing posts with label diy. Show all posts

7.26.2010

DIY Geometry Painting

I'm not gonna lie. I'm one of those. I can't pass a pile of furniture or junk or anything interesting looking on the street without contemplating how I could repair/reupholster/repaint or otherwise salvage any kind of street find. I've taken dressers, coffee tables, even a severely traumatized Herman Miller Shell Chair.

Also, I'm only going to be able to bring this up once. I've never told anyone. But. One time. Not that long ago. In the West Village. There was a vintage HM surfboard coffee table. In white. ON. THE. SIDEWALK. I had somewhere I HAD to be, with my boyfriend, who was with me. The MoFo (the table) was also HEAVY. I was tempted to ditch the BF and take the sucker home, but it was way too heavy, and try as I might, I couldn't convince the BF to show up at a semi-business semi-social function with an enormous and heavy surfboard size designer coffee table in tow. I gave it a quick pet, like an adorable ragamuffin puppy in a Central American alleyway, turned my back--thought again if I might be able to manage to hobble to the train, but knew that it was woefully impossible--and KEPT WALKING.

Whew. Now that that story is out of the way and WILL NEVER BE MENTIONED AGAIN, here is something I found abandoned right down the hallway of our mega loft building:
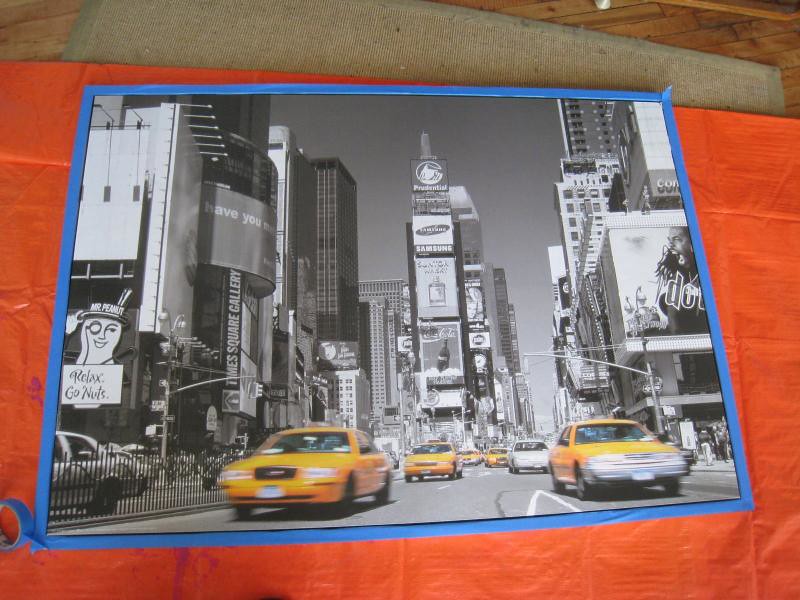
IMG_4259

I went, "Hrmm..." at the big fat NYC reference (um, really? someone must have bought this within 2 months of living in NYC, because the last place, in all of NYC that I want to think about being in when I'm at home--THE LAST PLACE, okay, maybe not Brownsville--is Times Square). Of course, I began brainstorming what I could paint over on the nice big pre-framed surface. Going through my Tumblr, which is soooo satisfying to recount all the loved images I've loved, I came upon this:
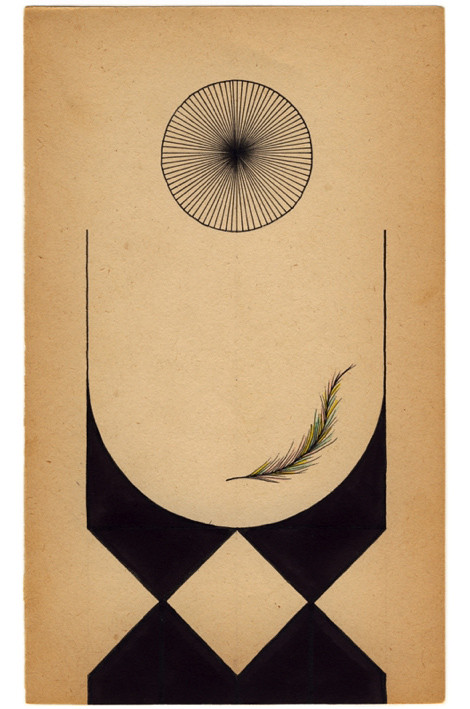
6a00d834cad15053ef013484e9f63b970c-800wi

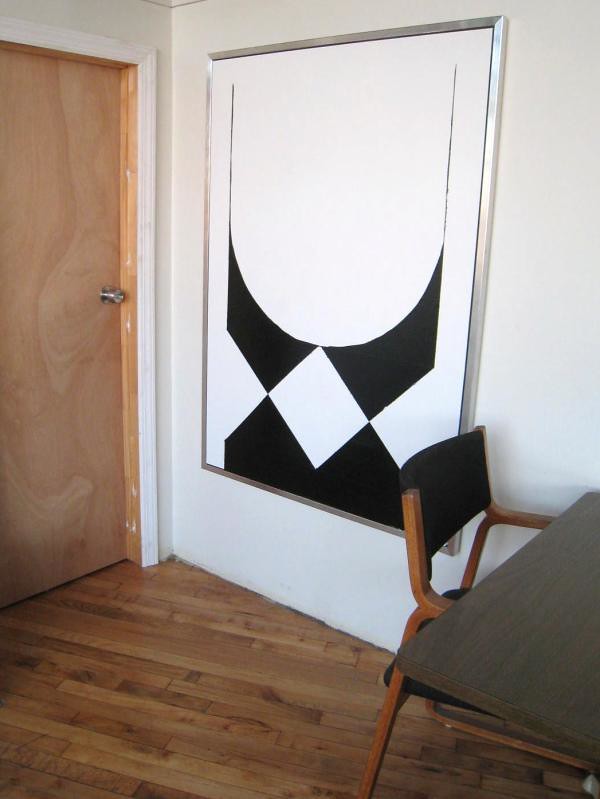
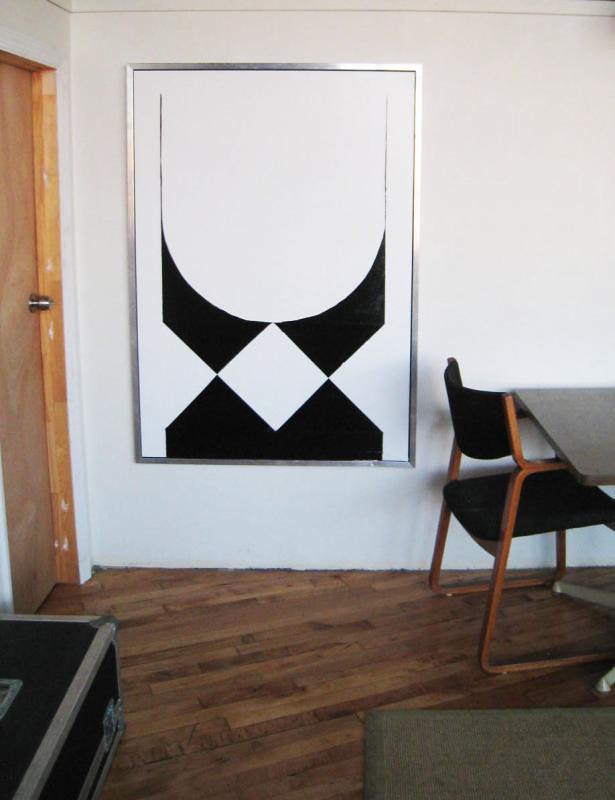
Gorgeous, right? Amazing. AND, kinda perfect for my growing attraction to black and white and vaguely graphic. But I nixed the feather and the wheel. Those would be the parts I would just eff up. Stick to geometry. Which turned out to be harder than I thought...

After a good few white coats:
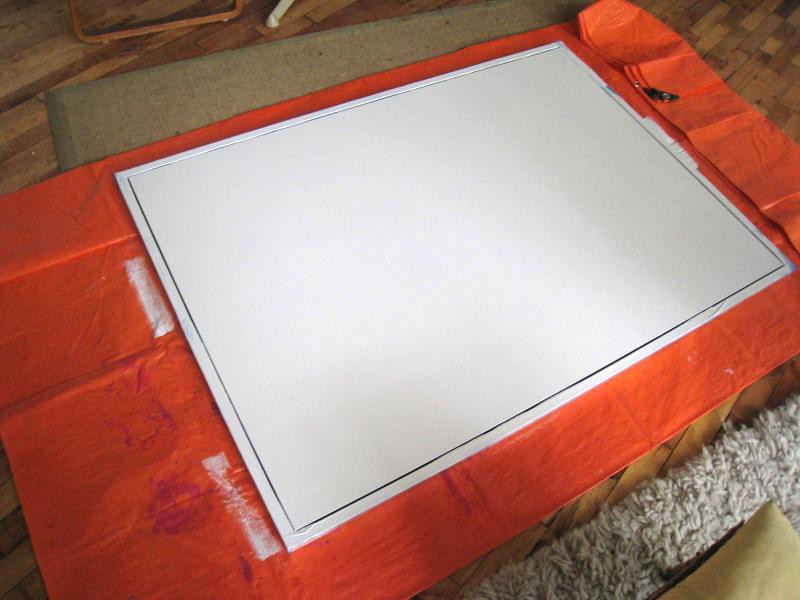
IMG_4262

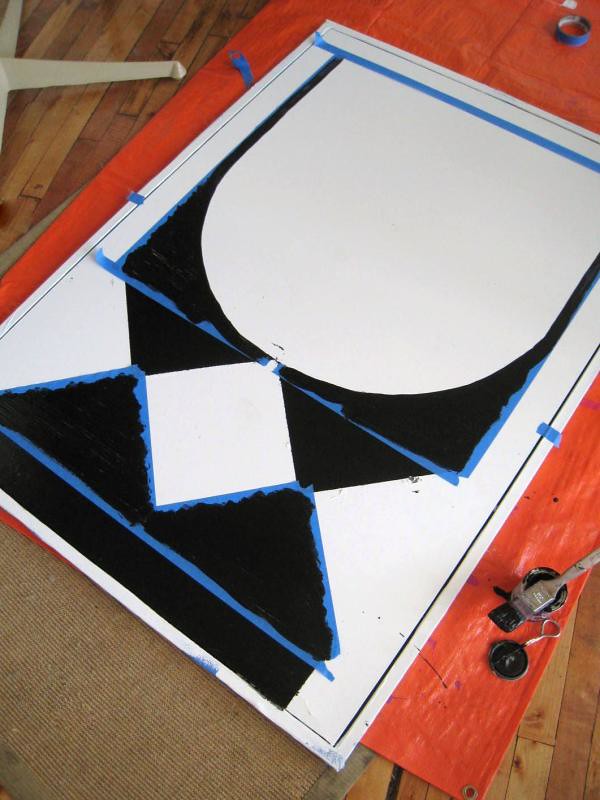
And some strategic painters tape:

IMG_4263

And figuring out how the triangles are actually made from bisected squares, so that determined the squares height and width, and then the circle's radius was equivalent to the length of one side of the square, with half of its circumference round, and then the length of the extended "arms" going as far as to be in line with where the top most circle circumference would be. I got pretty darn good grades in high school, but I think I came close to a D or something in geometry. Bah. I got my painting out though dammit; I conquered:
IMG_4266

IMG_4268

Final cost: ZERO. I already had the paint and brushes and tape. Way hotter than taxis in Times Square. But I still love you Ikea. Sometimes. But not more than Herman. Sigh.

4.24.2010

Herman Miller Shell Chair Rehab Part 4

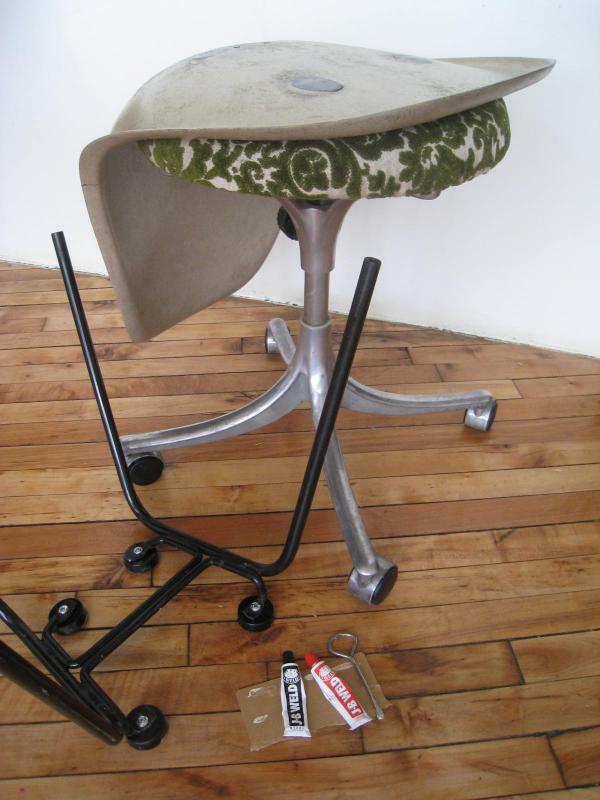
Continuing... Finally got around to the JB weld portion of the rehab after some lengthy procrastination, and first failed run.

IMG_2534

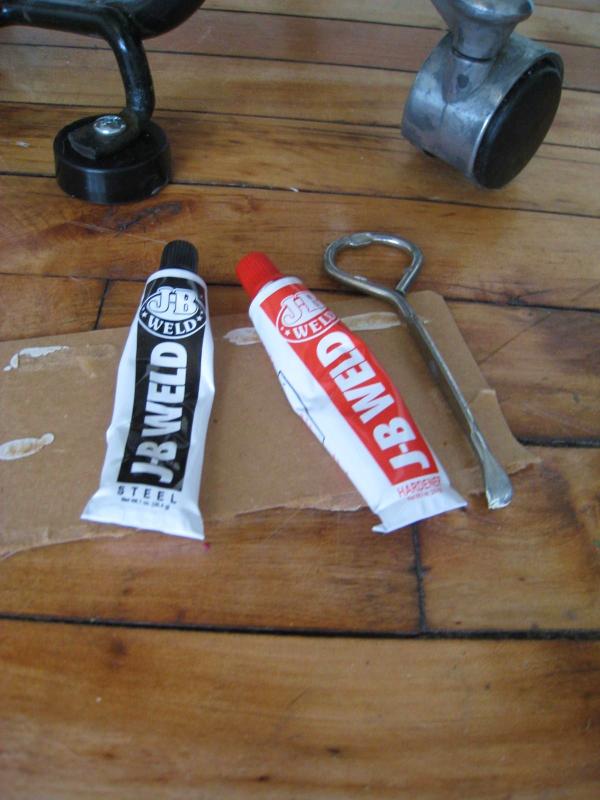
Materials gathered to epoxy mounts. That's my Kevi reupholstered stool under there.


IMG_2535

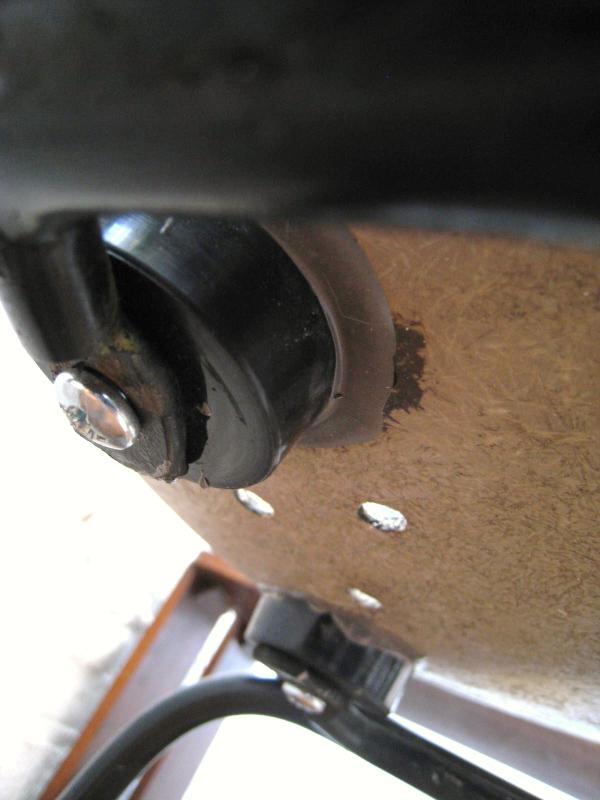
JB Weld epoxy: super strong, but slower to dry than I would have thought, and surprisingly forgiving in prying off my first attempt. Looking back at the original tutorials, I should have opted for the JB Weld Kwik that sets much faster.


IMG_2537

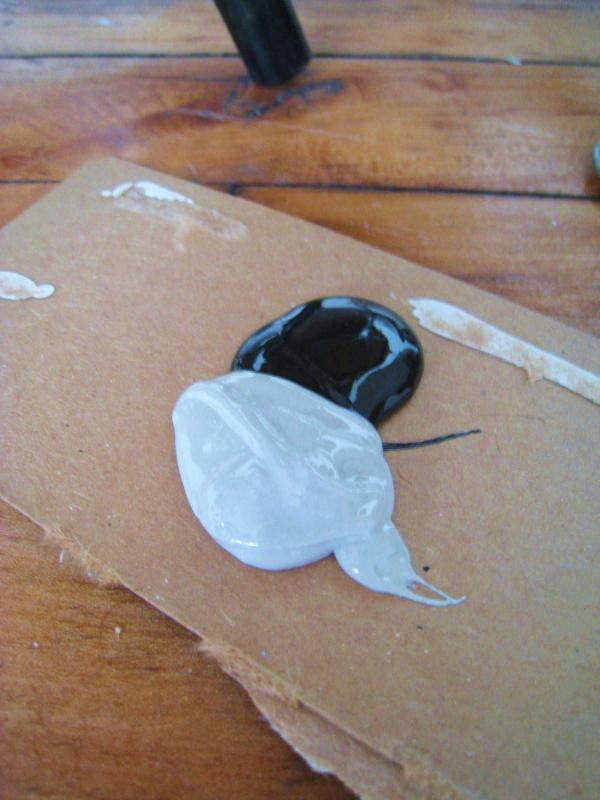
Grey and black modernist goodness.


IMG_2538

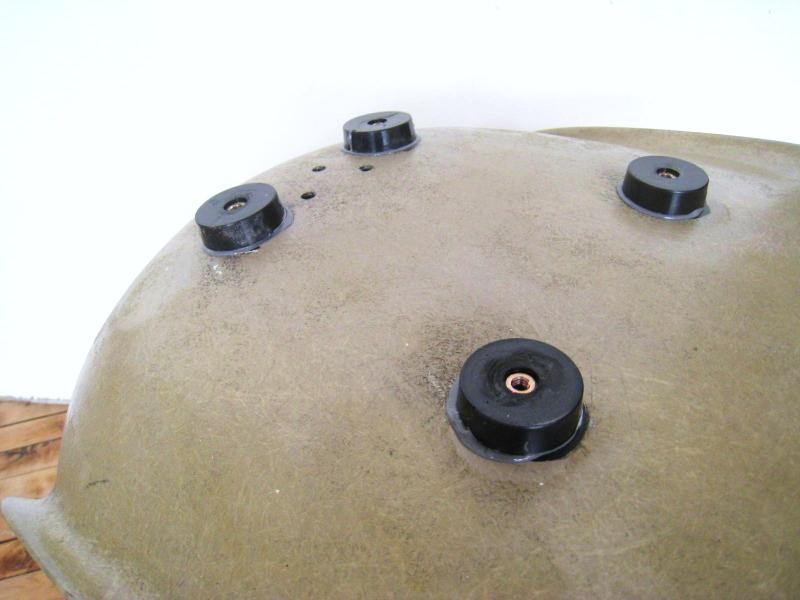
This would be the second try at attaching the shock mounts. The first time, I was too impatient and did them all at once. The back mounts on the seat curve slid as they dried, and didn't line up correctly with the chair base. Whoops. The new epoxy was easier to pry off than I would have thought. These pics are of the first impatient go round.


IMG_2540

Drying mounts.


IMG_2991

Post-adjustment, happily remounted chair hanging out.


IMG_3004

Sticking together.


IMG_3003


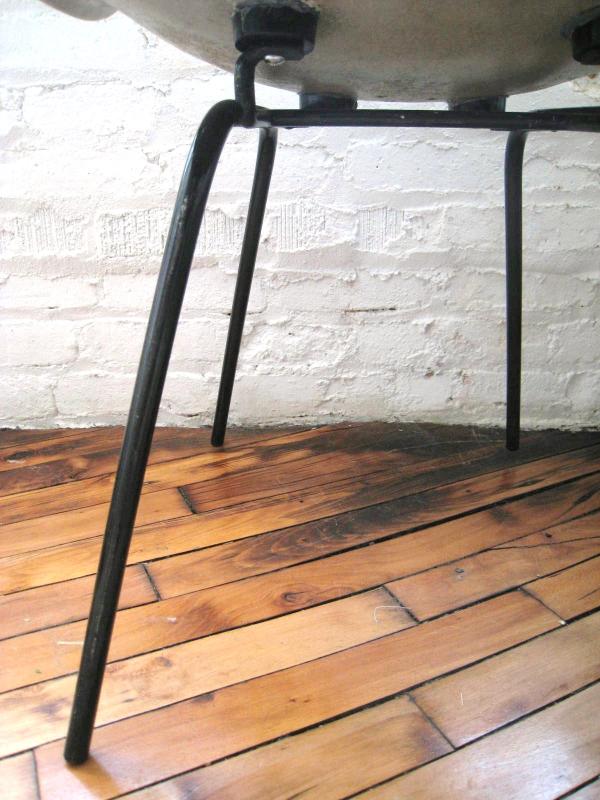
See here, here, and here for past HMSC rehab entries, including the method I used to remove some seven layers of paint from this poor chair. Also need to get a new drill to get the last of the old feet out of the legs to install the replacements (our cheapie has lots of miles and now only holds super huge bits).

Coming up next, an attempt at creating some sort of seat cushion to deal with those pesky holes...

See original Chair Fag and Brick House DIY tutorials for full break down on their process.

3.23.2010

Really Cute Packaging Idea

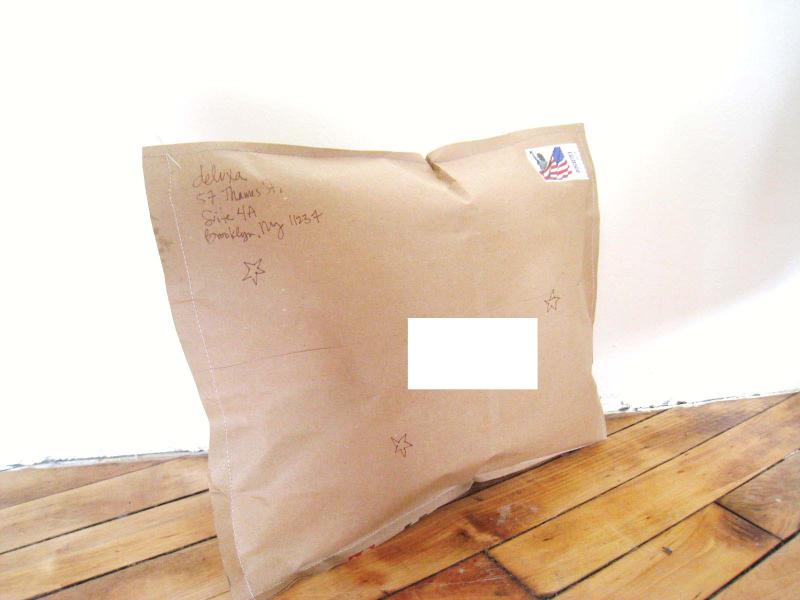
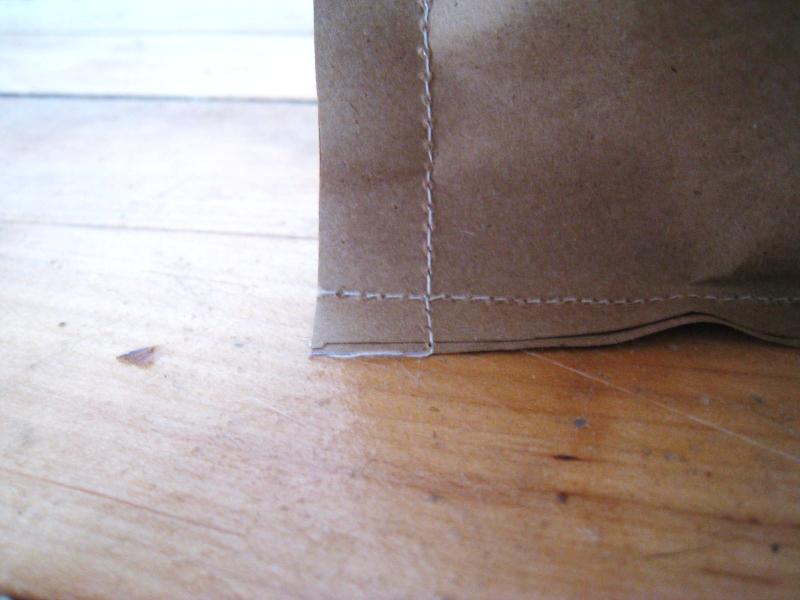
I read about is packaging idea by Mandi posted at A Beautiful Mess, basically sewing an envelope out of paper grocery bags. So simple and easy and cheap, and when it comes to packaging my items I've sold, I'm all about recycling, reusing, and cheap. And now it can also be super cute! Here are my results, where I didn't exactly follow Mandi's more intelligent method, because reading instructions after a project is how I usually work things.

IMG_2543 copy

IMG_2549

3.22.2010

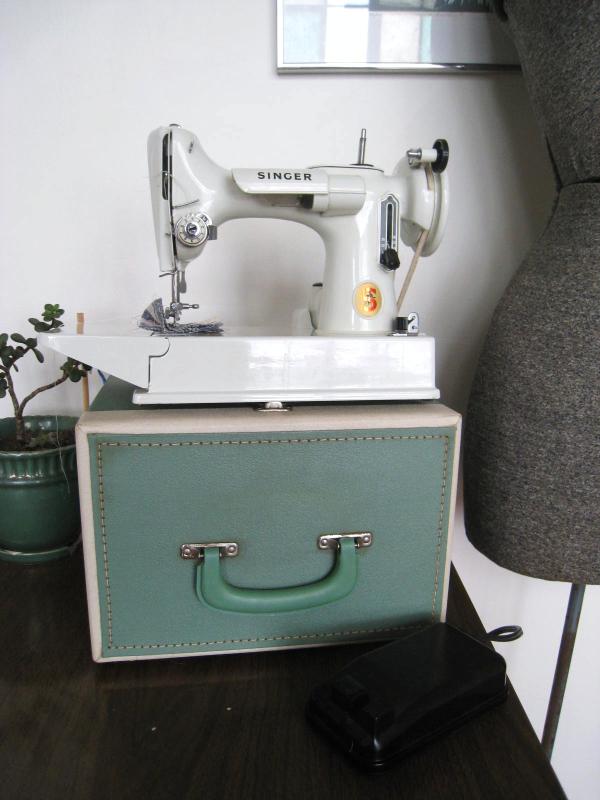
Sold: Singer Featherweight 221K in White

IMG_2528

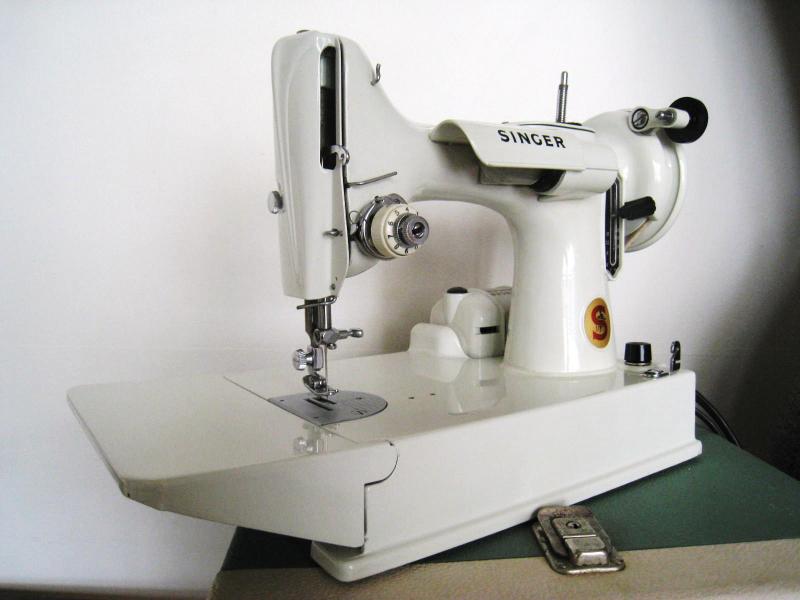
It kills to have to part with this find, especially after testing it out post-tune up. Gorgeous, dreamy, mod sewing. I shouldn't complain too hard though, getting to use my grandmother's black featherweight with loads of attachments. I may prefer the white, but having two machines seems silly, and parting with a family heirloom would be sacrilege. Besides, Grandma Margene was a supreme crafter of the highest rank, and I am humbled to be working on her machine, despite the allure of the white.

IMG_2527

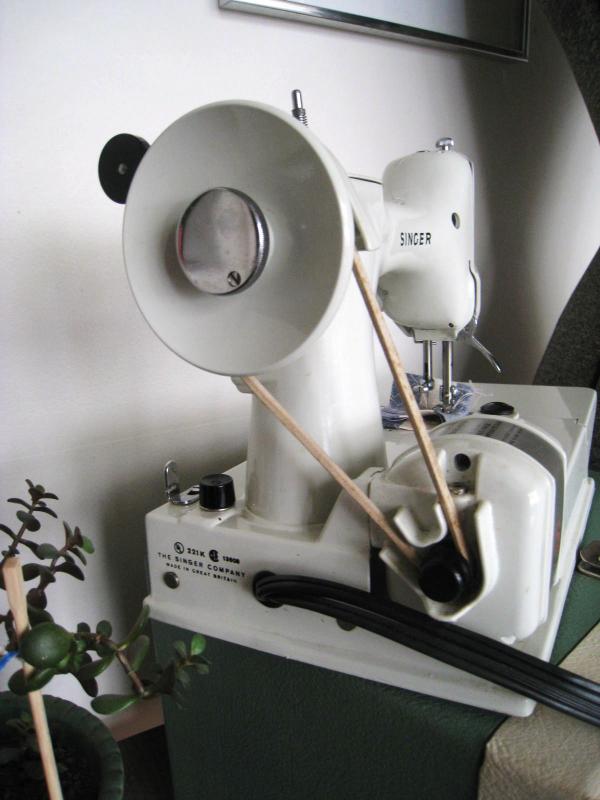
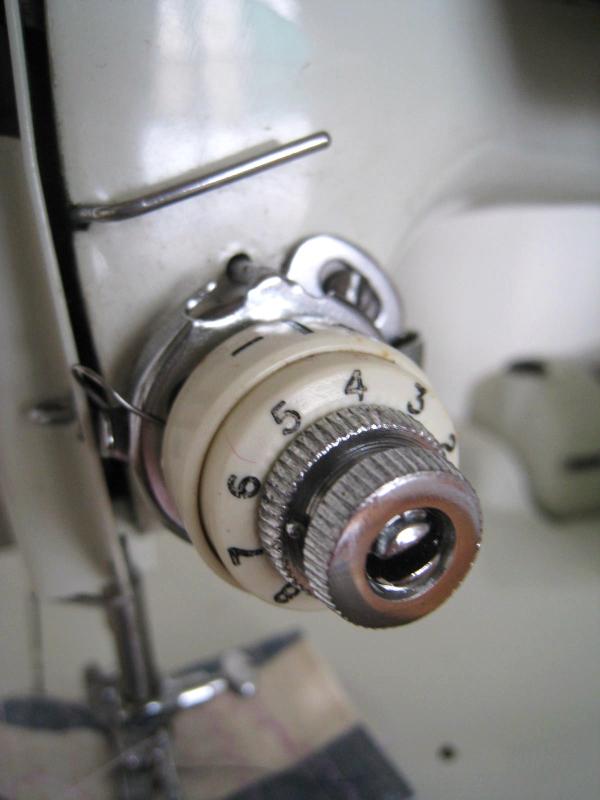
Down to the gritty gritty here though: the case is in very good vintage condition, clean throughout and free of any major dings or scrapes. I am out of fabreeze right now, but there is a whiff of basement to the case. The machine, like I said, works beautifully, and is very clean save some small bits of aged dust in the hardest to reach corners. The cord is supple and free of cracks or fraying; the bakelite pedal is original and in very good condition. The light works, the motor hums satisfyingly. Reverse works great. Tension is right on. Also has the original white belt--rare! Featherweight aficionados recommend taking off the white belts and storing separately since they are a bit sought after.

IMG_2503

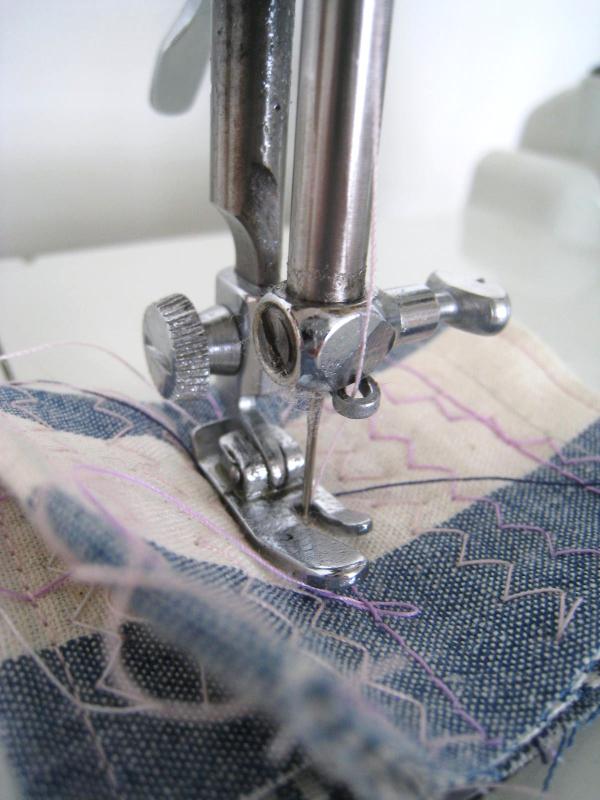
Gizmo, who was recommended by the lovely girls at Purl, gave this machine a thorough going over, tune up, and clean bill of health (a $70 visit itself). Even he kept repeating over and over, "I love these machines, I love these machines." He even kindly unscrewed some of the paneling and showed me the "guts". Industrial chic indeed.

IMG_2505


The well known indestructibility and ease of use of these machines is legendary. Also, if kept in good condition, it will only become a more valuable collectible. This particular machine was made in 1964, the last year of production. I also have the original instruction booklet, working keys for the case, and the receipt for the tune up. She's also got a brand new needle.


IMG_2500

One last thing though is that the bobbin case is not original, I bought a modern replacement. Gizmo said the quality is not as good as the original, but what the eff is these days? It does work nicely though, and also set me back a pretty penny so I can offer this beauty as absolutely ready to sew up a storm.

3.17.2010

DIY Herman Miller Shell Chair Rehab Part 3

IMG_2410


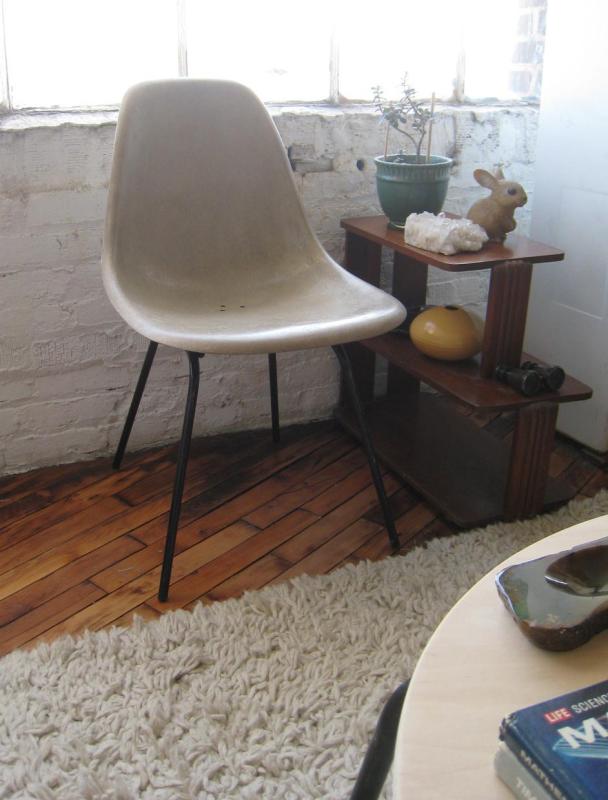
So, yes. It has been forever. Like eight months of forever. But I'm back at it. The Herman Miller Shell Sidewalk Find H Base Chair of Doom (see older posts here, here, and here).

What happened you ask? Holidays. Burn out. And moving. And a place to stash it where I can forget about it. But it is back, and hopefully for the last and final round.

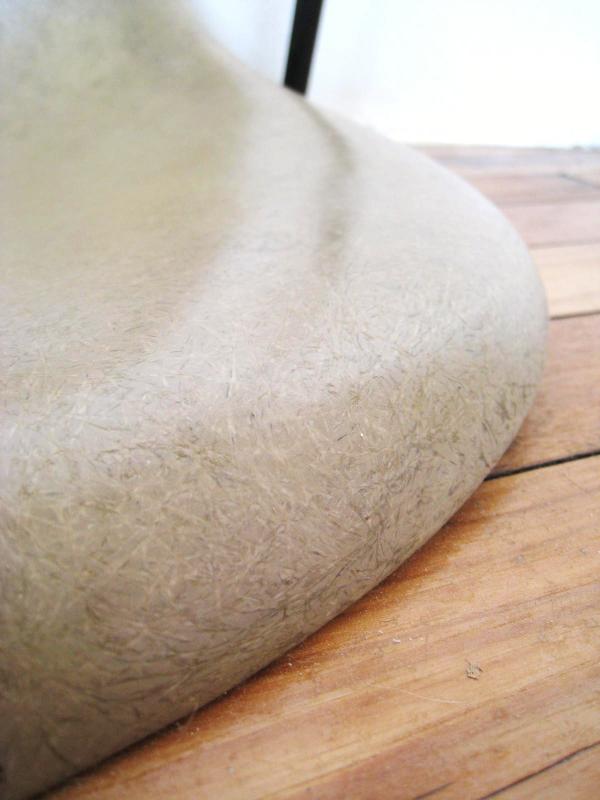
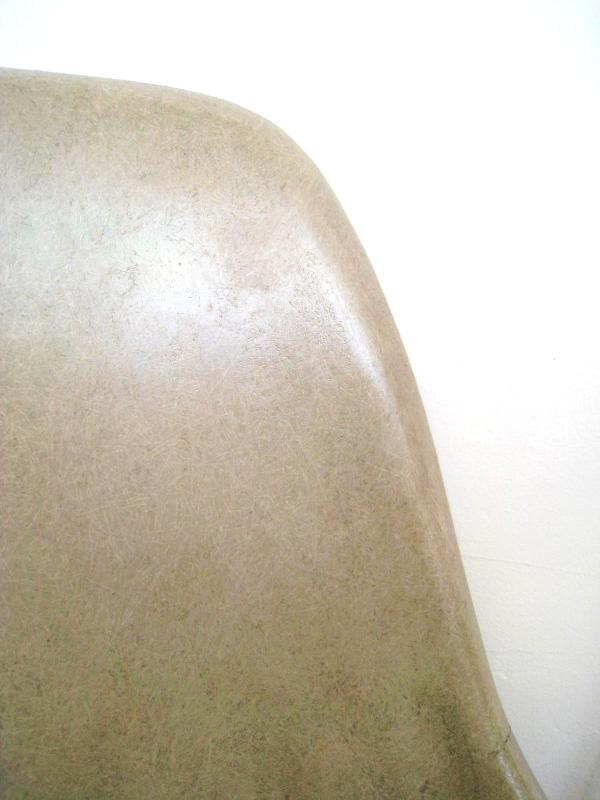
After pulling the shell chair out, even though I did Penetrol the sucker a bunch of times, the surface just didn't look so great. The paint remover really did a number on the fiberglass, making the texture pretty wonky and pitted, rather than sexy, modern, and sleek. Lucky for me, I now have an orbital sander, which improved things vastly, but is nearly impossible to use in the curve where your butt goes...so at this point, I really am just going to say that having the vast majority looking better is--sigh--good enough. Besides, there is a seat cushion that goes in there anyway.

IMG_2411

The last of some pitting that will just have to stay.


IMG_2412


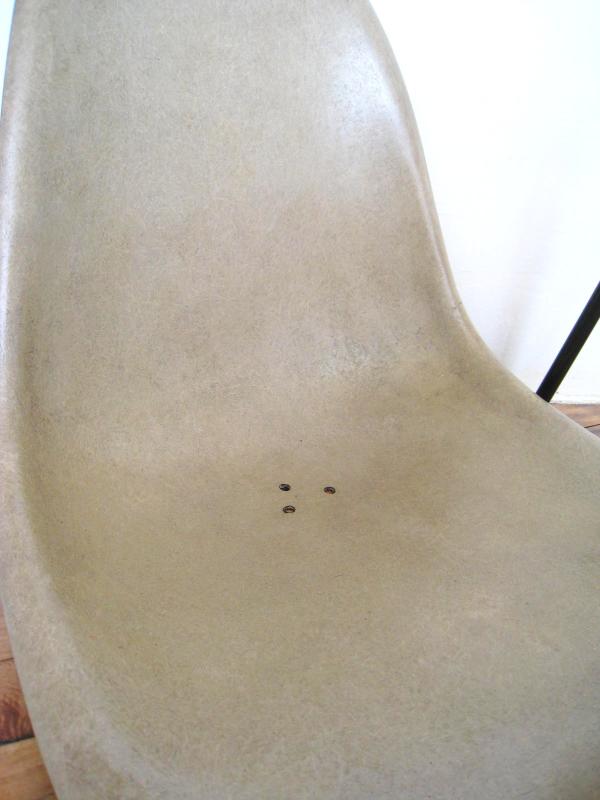
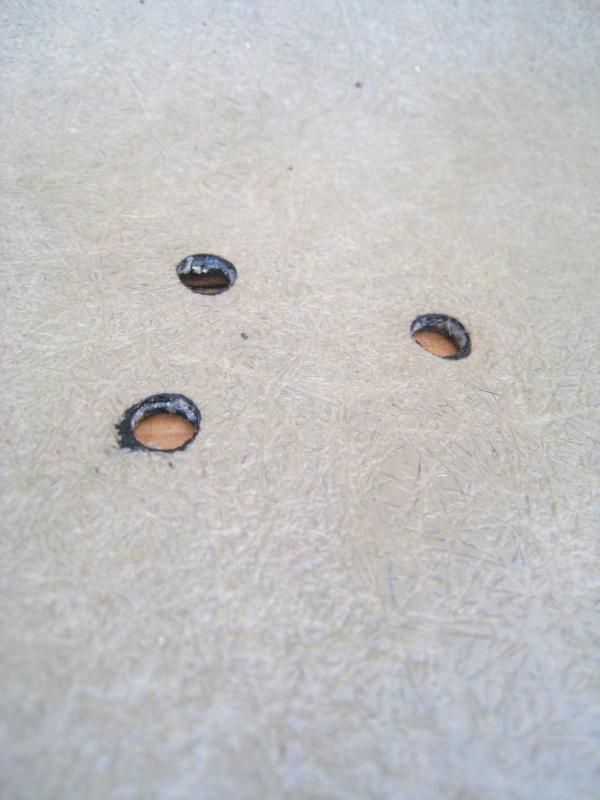
Clearer shot of the three holes used (somehow?) to anchor the chair pad. I'm thinking of using some kind of rope or strong yarn to tie through the holes, but if anyone knows how the originals were attached, please let me know!

IMG_2413

Close up of what is often mistaken for drill holes to let water out, cushion attachment holes.


IMG_2414


Much glossier and smooth than the sanding by hand, but still not quite perfect...

So now we're back in the Penetrol stages (round 2 to be exact) and in a few more days, on to the final final stage of actually putting the shock mounts on, which, I feel like considering all the prep work I've done so far, should be relatively easy. Here are the original links to Chairfag and The Brick House.

Oh yeah, and I caved in on those eBay glides. Crossing my fingers they arrive soon... For a free chair on the street, the investment into the shock mounts, glides, paint (for the legs) and paint remover, foam for the seat, and ridiculous amount of hours is adding up fast, but I guess I can't turn back now...

IMG_2417

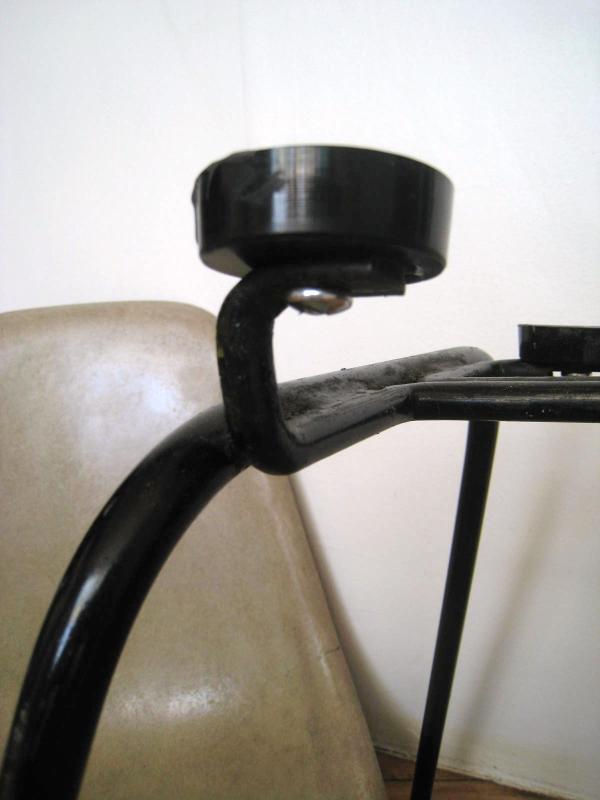
New shock mounts, ready to be mounted.

In the mean time, I'm thinking about what fabric to use to make the seat cushion. I'm thinking a print could be a cool touch, but a hard sell.

Here is a sneak peak of another project I'm working on at the same time. Really just paint and refinishing, but I think it is going to come out pretty cute as my skills and patience are improving.

IMG_2423

Still needs work, but coming along nicely.

11.11.2009

DIY Bead Chandlier

Can't say enough how in love I am with this DIY project on Design*Sponge. IN. LOVE.


Click here for directions.

10.15.2009

Have You Heard?


Polaroid has been adopted! On October 9th, the last batch of produced film passed its "use by" date, and it looked as if Polaroid lovers were going to be left high and dry. Luckily though, as many were hoping, the name and technology for the cameras is being licensed for production, and a group called The Impossible Project (totally worth reading up on these guys) will be producing film. It's quite and interesting story for what some consider an antiquated format while others consider precious. Read more here, here, and here.

Here's a few pics I pulled off the Flickr group, aptly named, "The Polaroid Pool":


Also, if you haven't seen Poladroid, check it out--we've got a bit of a wait until mid 2010. Here is a link to another post I did on Polaroids of plants, too. Lastly, we do have a couple vintage camera's in stock, including an instant film camera (that uses Polaroid film) that was produced for Tupperware and made by Kodak as a gift for their top Tupperware sellers. Super kitsch.

9.28.2009

THE Anthropolgie Buyer

Someone is brilliant for creating this show: following the special buyer Keith Johnson for Anthropologie stores around the globe as he finds inspired objects.


Since I've started the store, I virtually never buy anything at any Anthro/UO stores anymore, but I do go and swoon and steal display ideas, and I'm sure once this store starts I'll be stealing more refurbish/refinishing ideas as well. In all I always knew that there was some kind of mastermind world traveler behind all those great finds (not to mention an unmatched visual display team, BAR NONE). The teaser bits of Keith are a great intro to what the show might be about--my favorite is the one in India where he walks through the process of remaking a huge birdcage with a painted canvas to go on the backboard among other modifications. Premiers October 7th--I'm marking my calendar! (And hoping it will be streaming online...haven't had a television in eight years...)

9.19.2009

I Love This Idea

Over at Benign Objects, a cute stationery company in Minnesota, they shared an adorable idea for Save the Dates, but really you could use it for any sweet event. Using a Yudu (I want!), they cleverly screened on the info for their Save the Date onto vintage hankies. Check out the results below, and stash this one in an inspiration folder for sure. Read the full post here.


8.14.2009

DIY Herman Miller Shell Chair Rehab Part 2

Part 2! Okay, the exclamation point might be misused there, because this very large and very laborious step two to the process of rehabbing this chair is...sanding. And paint stripping. Over and over. For like hours. For like hours, like a few sessions of hours. Over days. And I'm still not sure I'm done. Something about the world of sanding seems to be the rule that when you think you are getting close, you might be 60% done. Might.


Do I look like I'm done being wet sanded? Note, I'm also still drying in this pic...

I don't know if anyone has had fiberglass fingers, but its not that fun either. Its like crunchy sandpaper stuck in your fingers. For like days. And it gets all out, just in time for another round of sanding. The BF says "Wear gloves," to which I intelligently reply with, "Bah."


Mmm...raw fiberglass.

I'm getting excited about the Penetrol coming up though. As Melissa at the Brick House might say, the Penetrol will make this baby the sexy chair it was born to be.


No ten layers of ugly black paint here!

I also got shock mounts on Ebay a few days ago. Still looking out for feet. A generic set I found in a drawer here didn't fit, and there is a set of glides for $20 on eBay, but I'm still holding out.


Even the underside is done!

Read DIY Herman Miller Shell Chair Rehab Part 1 here, and the original DIY instructions here on Chairfag, and another great set of instructions on The Brick House.

8.05.2009

Eames Shell Chair Colors

Been pouring over the section of Vintage Eames on Eames Office for the last hour, and after finding these color sample swatches of the original fiberglass chair colors, I think I've got it down to Griege Light.


I think the verdict is out until I really get the last of all the paint off and get her sanded and penetrol-ed and looking nice.

Today, I did get to do another round of Trigger Spray until the bottle ran out. The back is 95% clean, and the front is looking better, but still needs work. Also got the base spray painted glossy black. As much as I have about a million other things to do, I'm sort of really into this project right now.

Also, somewhere I'd found a photo of what the chair is supposed to look like with its uphulstered seat cushion, but alas have lost it in the sea of internets. Maybe I'm being ambitious, but I'd love to find a half yard of some vintage Knoll fabric and make myself a cushion.

PS. After all this laborious love, this chair is gonna probably be a keeper for me personally. Plus the next one I restore will be an even better job.

8.04.2009

DIY Herman Miller Shell Chair Rehab Part 1

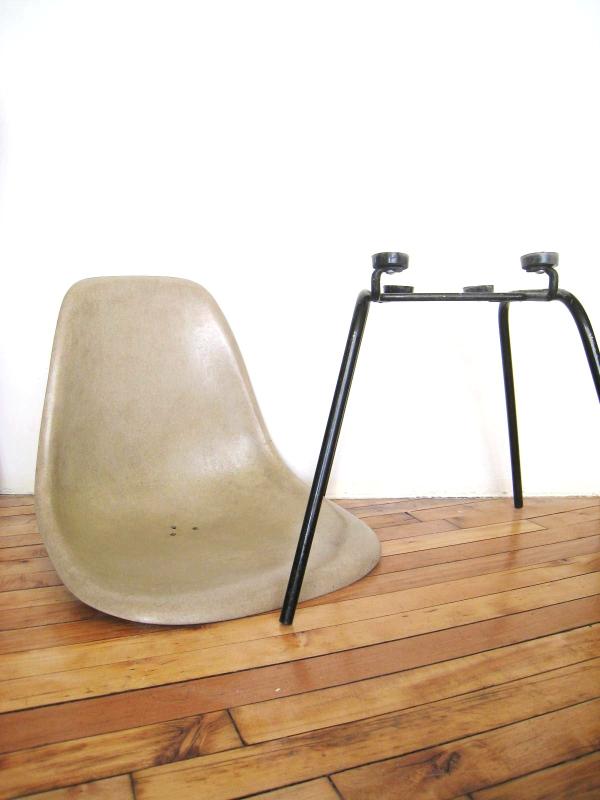
Found this poor abused chair under a pile of other beastly chairs on Henry Street. Ridiculous layers of paint, mysterious holes in the bottom, disconnected shock mount. But underneath it all, I still knew it as the classic it is--a Herman Miller Shell Chair.


Street find!

Tri-hole seat--later I discovered this is for anchoring a seat pad.


Here was the only patch where you could see the color under all the paint.

Having just read The Brick House's restoration project, and consquently being enthralled with Chairfag's remounting instructions, it was a project handed from the midcentury DIY gods!

First step, before all that paint was to come off, I needed to get the base off. Lucky me, the bolts attaching to the shockmounts were already stripped, so the only way to go about this was to remove the whole mounts, Chairfag style.


Nasty shock mounts.

The whole mallet and flathead process took a bit of getting used to, and was kinda nasty, as my mounts are awefully rotten and crumbly, but resiliantly stuck. It wasn't so mucha prying off experience as it was a slow chipping away. It was a pretty satisfying moment though when all four were finally off.


All four shock mounts off.

Next step, after some breif research on using paint stripper on fiberglass. Result: not much info, and seeing how the chair was a) free and b) hideous in its nasty black slopped on paint--spectulative experimentation was necessary.


Let's strip these layers off and go au naturale!

I first started on the underside, which had considerably fewer layers of paint. I think only white, forest green, and mustard yellow. Oh yes, and a cream color that is awfully close to the original color. A little test patch with my paint remover "trigger spray", and little wait and see, some curled up edges on the paint, and yes, it looked like I was mostly in the clear. After a while, to my delight, I did find this:


See the logo?

I also did the metal legs, which had multiple layers of white, red, and black. Getting down to just the metal was a bit of a feat in itself, consisting of spray, wait, wipe, repeat.


Taking the paint off the legs.

On to the proper side of the chair after getting tired of working on the back, there I finally confronted the serious hate someone had for the original condition of what was slowly becoming an oatmeal/gray (I still need to look up what the official color is called) shell chair. Lots and lots of paint remover trigger spray, wait, repeat revealed that the chair was white, black, green, cream, yellow, then white again, then black again. Why someone would do this to a poor lovely Herman Miller chair, is beyond me. Criminal really.


Where I left off on the underside.

At some point, some of the fiberglass started to get all fiber-y, and I saw that my paint remover had eaten through whatever protective layer was put on the chair at the time of manufacture. Some of my wiping and scrubbing (even with lots of nasty chemical paint remover, it took lots of labor) with steel wool, magic erasers, and lots and lots of rags that got quite nasty actually was getting some of the paint particles embedded into the fiberglass...kinda a bummer.


See fuzzy edge above.

Eventually, I was pretty beat, and my back hurt, but I would say about 85% of all the paint did get removed. I'm hoping the little embedded flecks will come out when I sand the piece. Regardless, I'm happy to have saved this little chair, at least for now...


Where I left off on the seat side.

Still need to figure out how to extract one of the last plastic feet nails left in one leg, and get new shock mounts and feet, but all that, for another day...

Also more posts coming soon on more DIY projects--the Wormley coffee table, the wicker thonet style chair, the Eames-knock off lounge, and hopefully some store reconfiguration/updates. Always so much to do!