
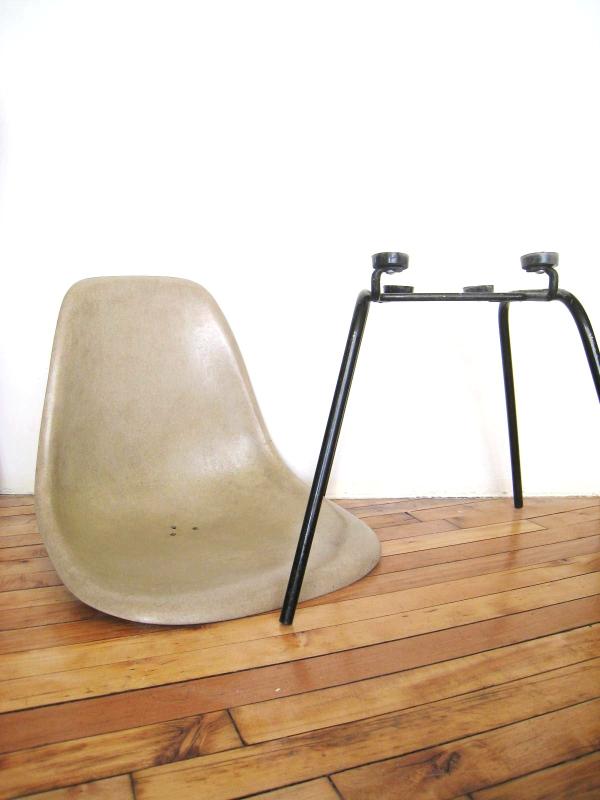
So, yes. It has been forever. Like eight months of forever. But I'm back at it. The Herman Miller Shell Sidewalk Find H Base Chair of Doom (see older posts here, here, and here).
What happened you ask? Holidays. Burn out. And moving. And a place to stash it where I can forget about it. But it is back, and hopefully for the last and final round.
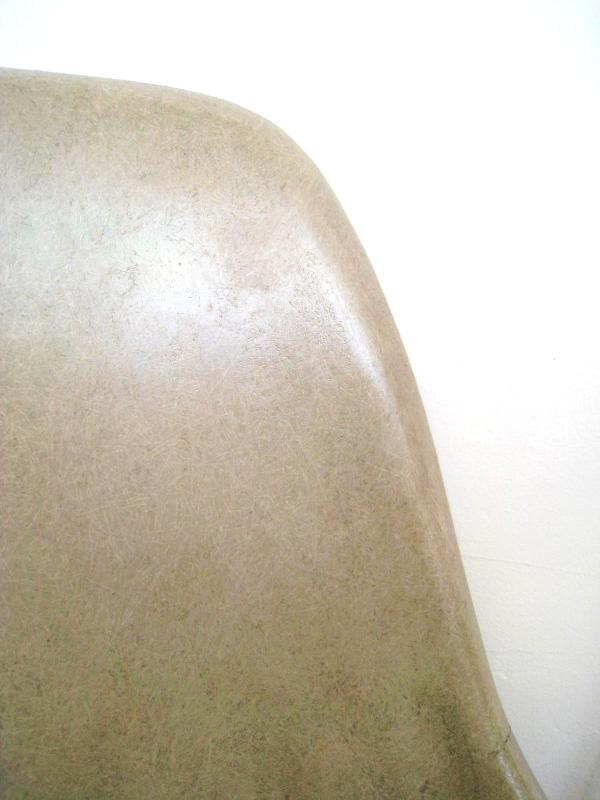
After pulling the shell chair out, even though I did Penetrol the sucker a bunch of times, the surface just didn't look so great. The paint remover really did a number on the fiberglass, making the texture pretty wonky and pitted, rather than sexy, modern, and sleek. Lucky for me, I now have an orbital sander, which improved things vastly, but is nearly impossible to use in the curve where your butt goes...so at this point, I really am just going to say that having the vast majority looking better is--sigh--good enough. Besides, there is a seat cushion that goes in there anyway.
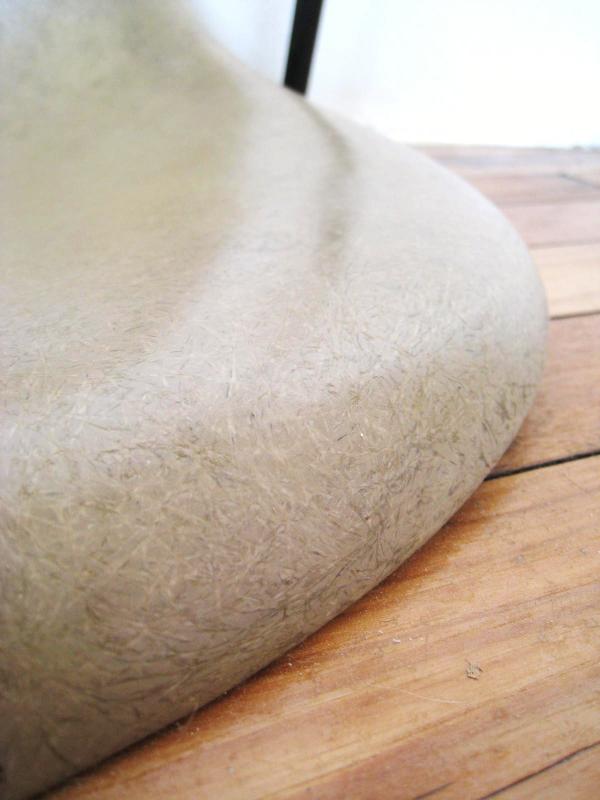
The last of some pitting that will just have to stay.
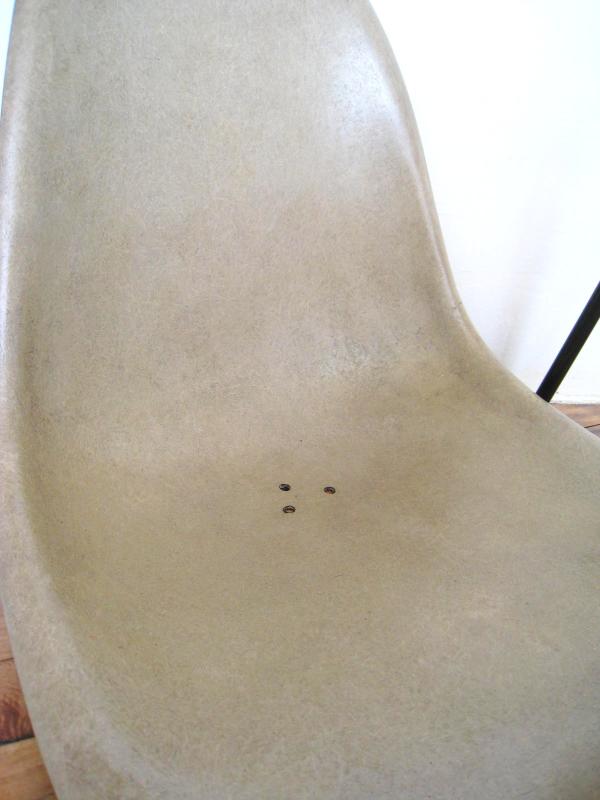
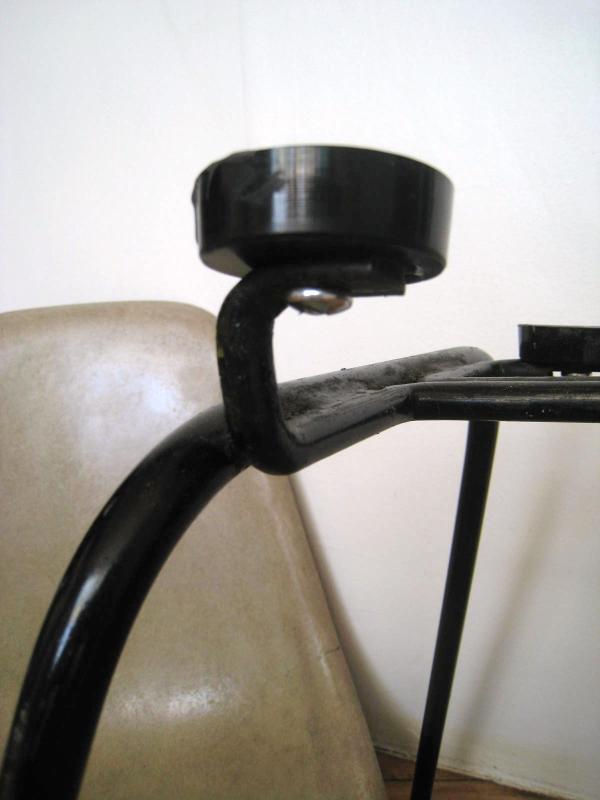
Clearer shot of the three holes used (somehow?) to anchor the chair pad. I'm thinking of using some kind of rope or strong yarn to tie through the holes, but if anyone knows how the originals were attached, please let me know!
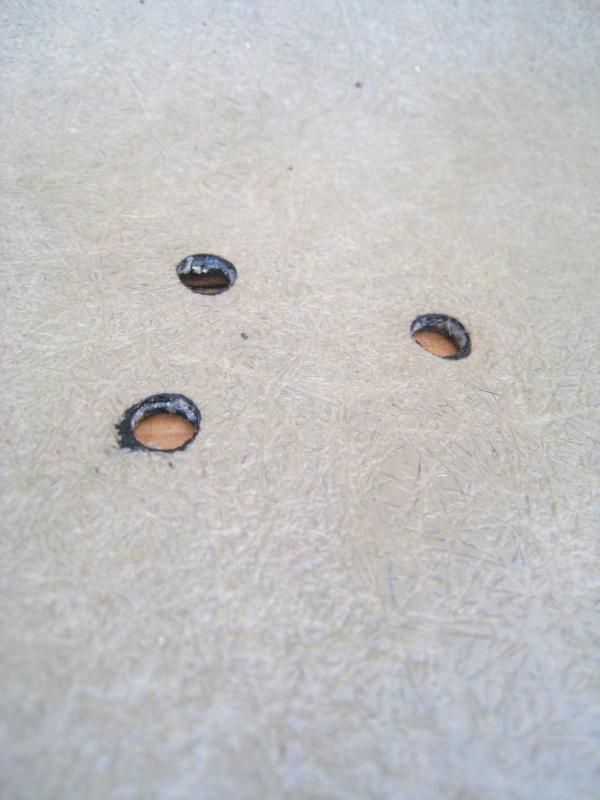
Close up of what is often mistaken for drill holes to let water out, cushion attachment holes.
Much glossier and smooth than the sanding by hand, but still not quite perfect...
So now we're back in the Penetrol stages (round 2 to be exact) and in a few more days, on to the final final stage of actually putting the shock mounts on, which, I feel like considering all the prep work I've done so far, should be relatively easy. Here are the original links to Chairfag and The Brick House.
Oh yeah, and I caved in on those eBay glides. Crossing my fingers they arrive soon... For a free chair on the street, the investment into the shock mounts, glides, paint (for the legs) and paint remover, foam for the seat, and ridiculous amount of hours is adding up fast, but I guess I can't turn back now...
New shock mounts, ready to be mounted.
In the mean time, I'm thinking about what fabric to use to make the seat cushion. I'm thinking a print could be a cool touch, but a hard sell.
Here is a sneak peak of another project I'm working on at the same time. Really just paint and refinishing, but I think it is going to come out pretty cute as my skills and patience are improving.
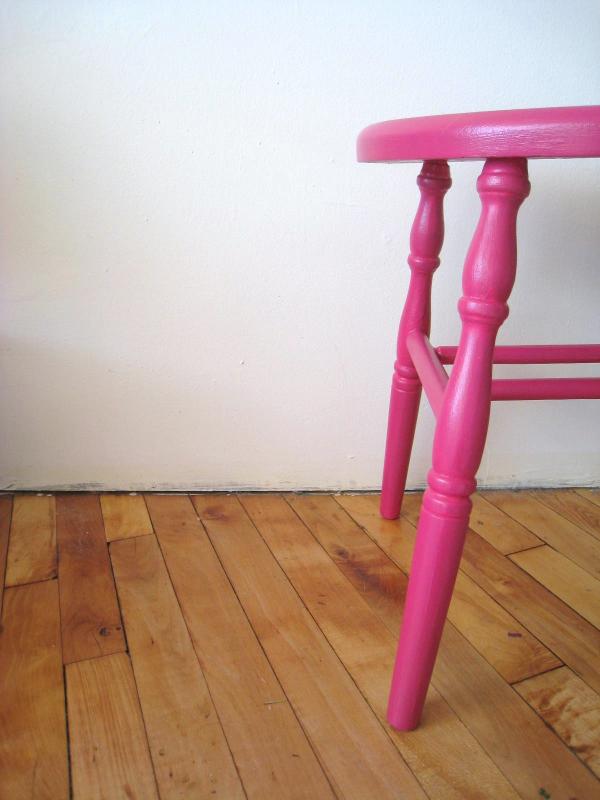
Still needs work, but coming along nicely.
The mystery of the 3 holes in the Herman Miller Shells... Those shells were originally upholstered and the urethane foam used was injected through the underside of the seat. Some say it was also to let air escape on the upholstered shells when one would sit. You'll see it in most of the 70's production shells that went to corporations, institutions, etc... They never made a seat pad that attached through the seat.
ReplyDelete